
Saga of the Nine Worlds: The Gathering: Chapter 3 Lower
Our Saga of the Nine Worlds: The Gathering Walkthrough is filled with simple instructions and colorful screen shots to help you solve this epic hidden objects adventure!
General Tips & Information
Chapter 1 Enter the Forest
Chapter 2 The Sandfell
Chapter 3 Lower
Chapter 4 Jotuneim
Chapter 5 The Altar
Chapter 6 The Harbor
Ask for help in the comments below!
Chapter 1 Enter the Forest
Chapter 2 The Sandfell
Chapter 3 Lower
Chapter 4 Jotuneim
Chapter 5 The Altar
Chapter 6 The Harbor
Ask for help in the comments below!

- Click the drum shell - attach the leather patch.
- Click the clasps to trigger a mini game.
- Click the drumsticks correctly to solve the game (a – bx2 – a – b).
- Move to the left.
- Collect the golden object & steel bar.
- Collect the tobacco & click it 3x’s – arrange the pieces.
- Select the glue to collect the paper.
- Move to the Lower City.
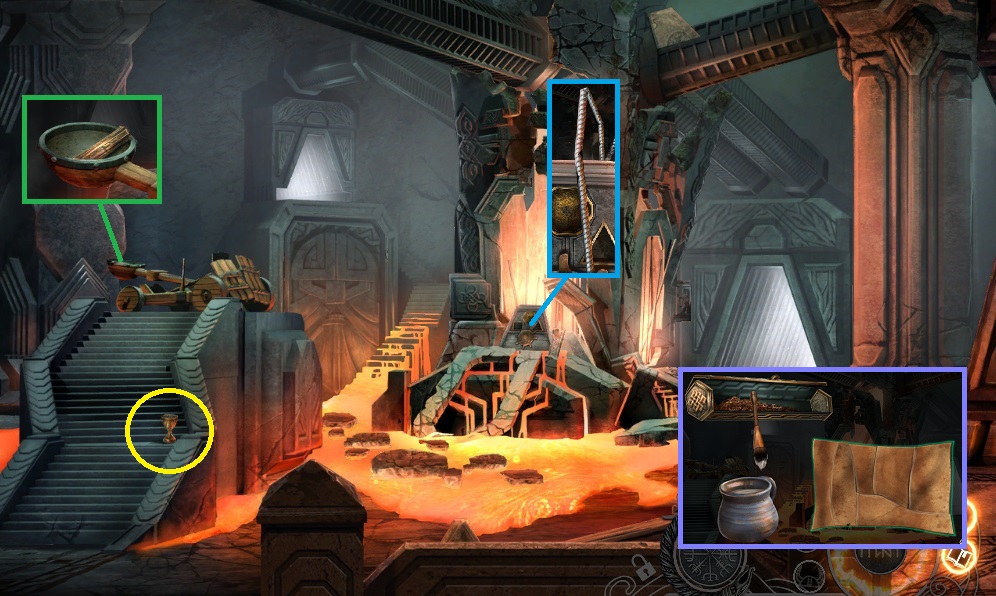
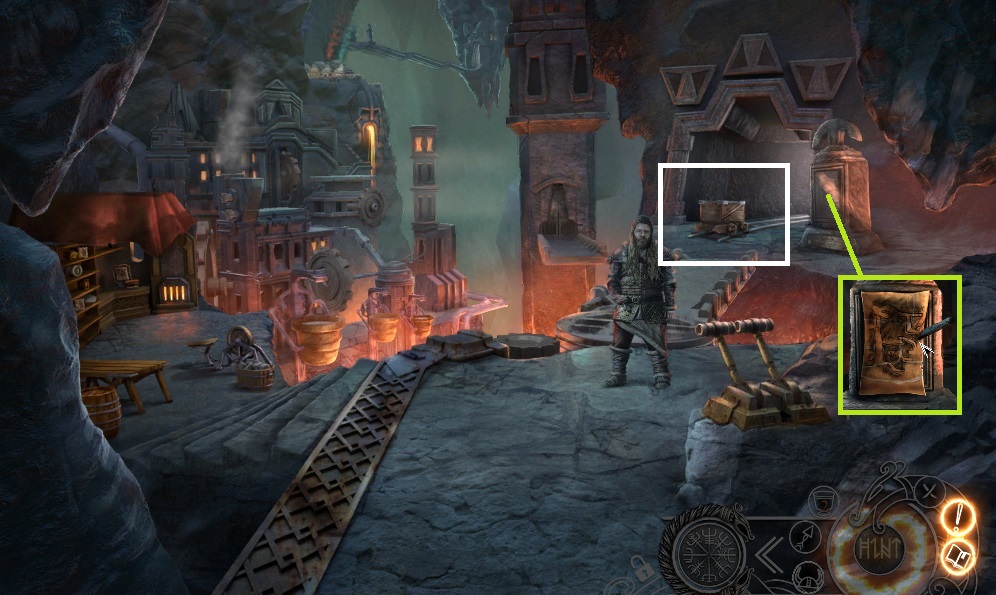
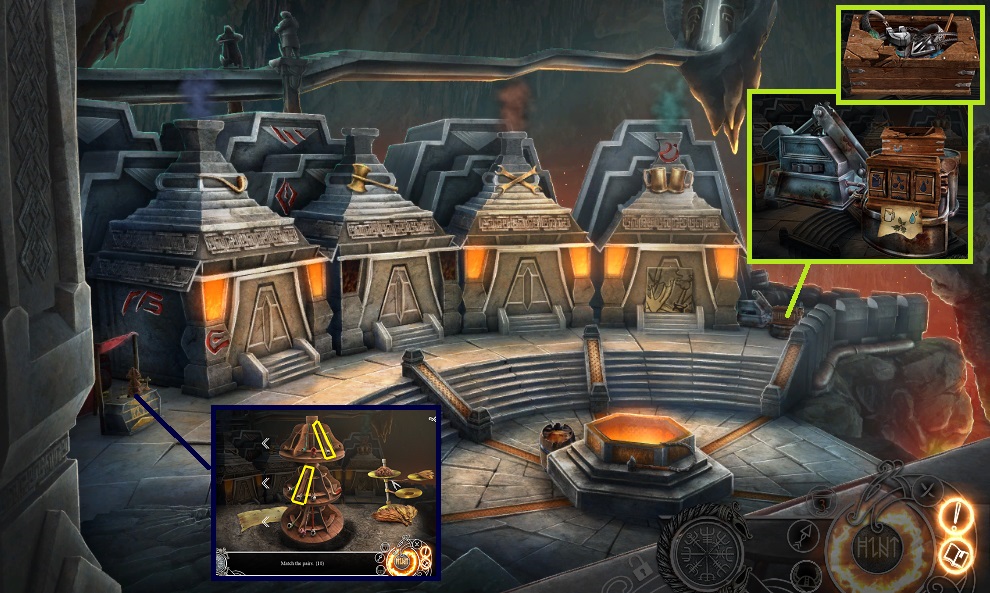
- Collect the 3 golden objects, the bellows & sealed box.
- Move down once.
- Place the offering bowl & the golden objects to collect the molten gold; place it into the bowl.
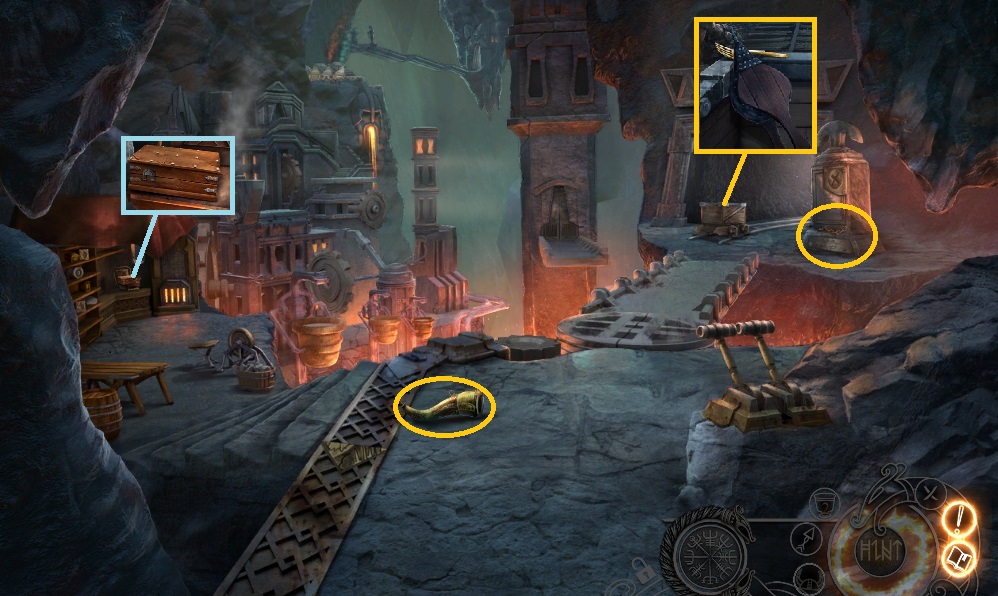
- Click the handle.
- Collect the general’s wrench.
- Move to the Lower City.

- Collect the metal plate using the general’s wrench.
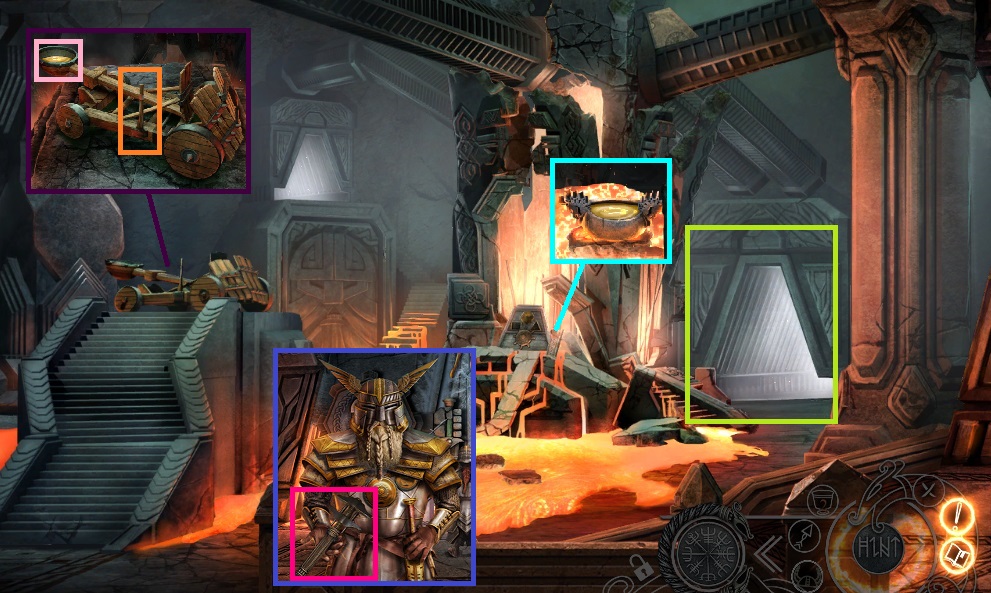
- Place the metal plate & click the lid; collect the triangular piece.
- Move down once.
- Place the triangular piece & click it – arrange it correctly to transform into a square.
- Collect the control cube & charcoal.
- Move to the Lower City.
- Use the paper & charcoal.
- Collect the mines map & give it to the man.
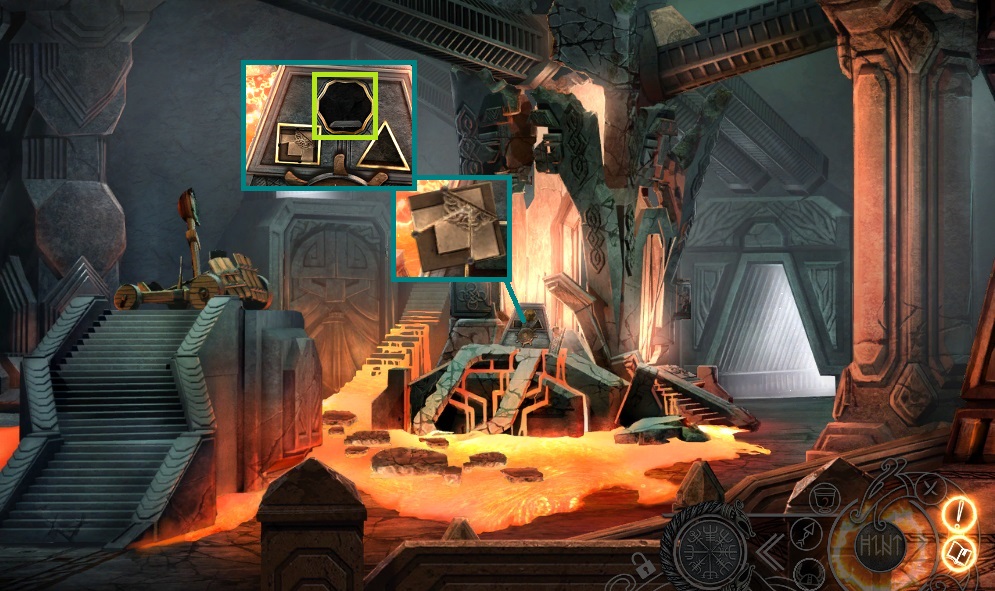
- Examine the cart.
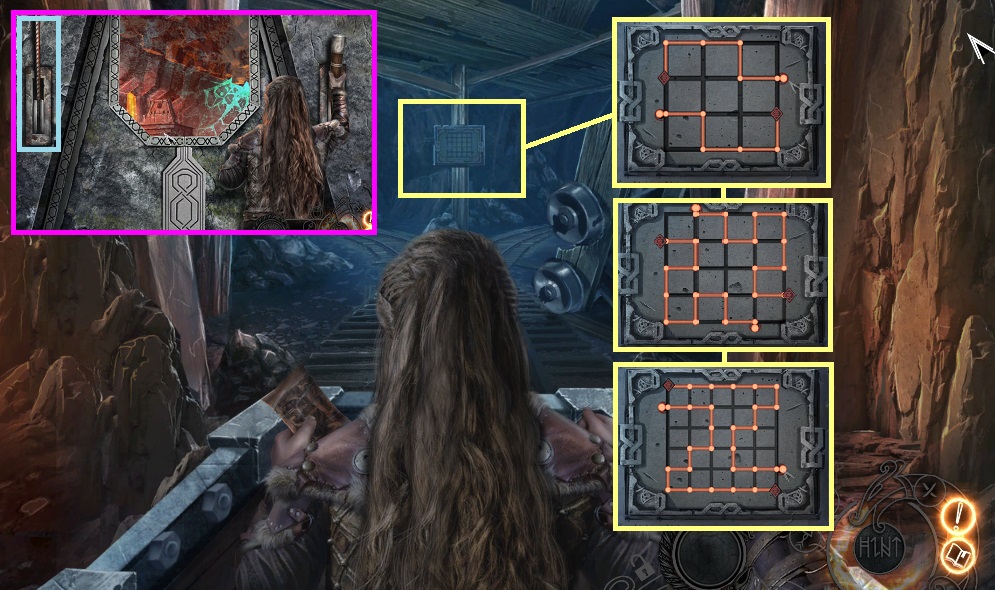
- Zoom into the grid to trigger a mini game.
- Solve the game by connecting the dots correctly.
- Solve game 1 & move to the right.
- Solve game 2 and move to the left.
- Solve game 3 and move to the left.
- Click the lever – attach & click the steel bar.
- Collect the crank.
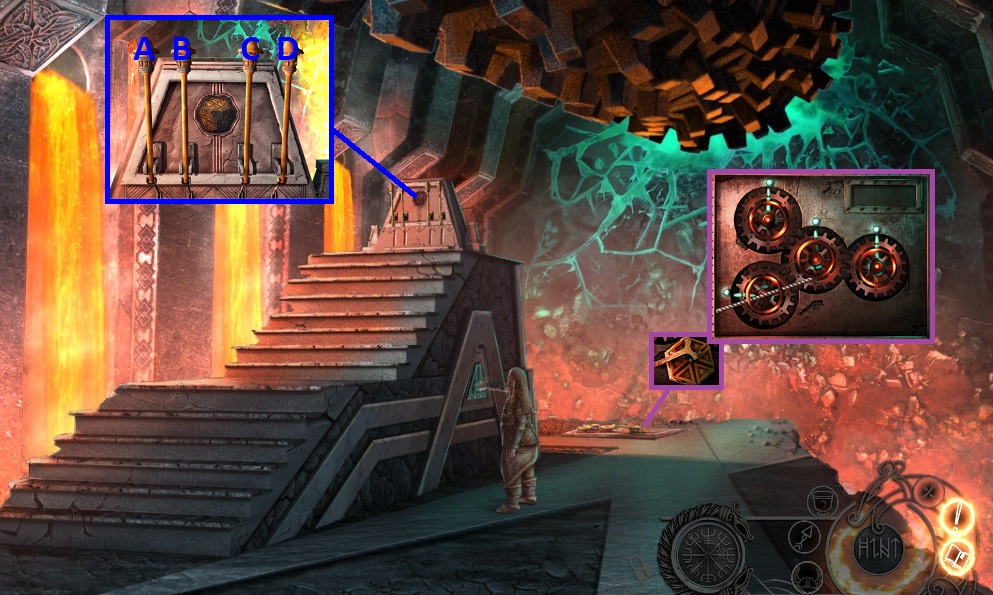
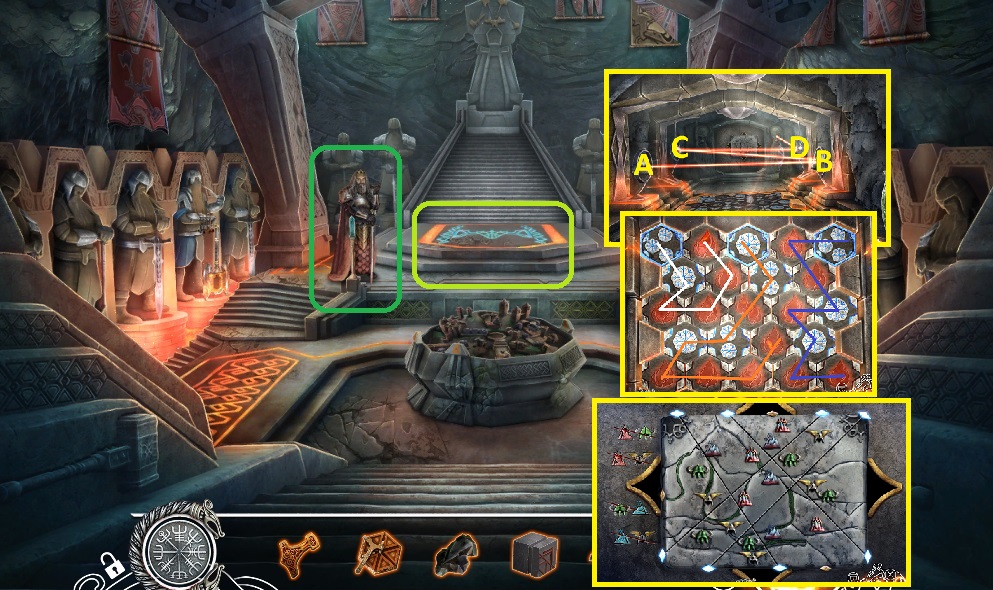
- Place the steel bar on each gear –arrange correctly.
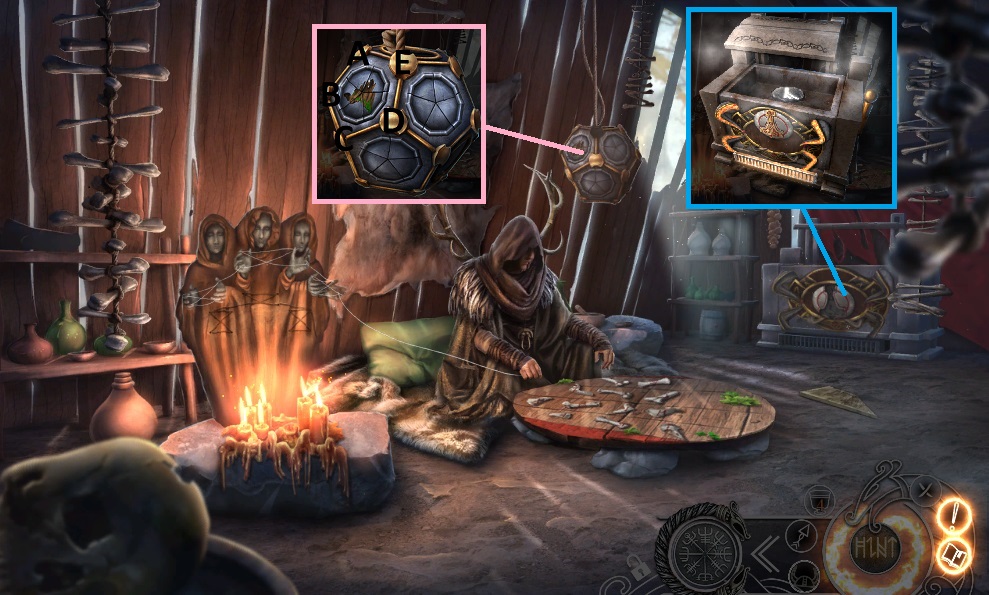
- Place the control cube – click A-D click D
- Collect the general’s badge.
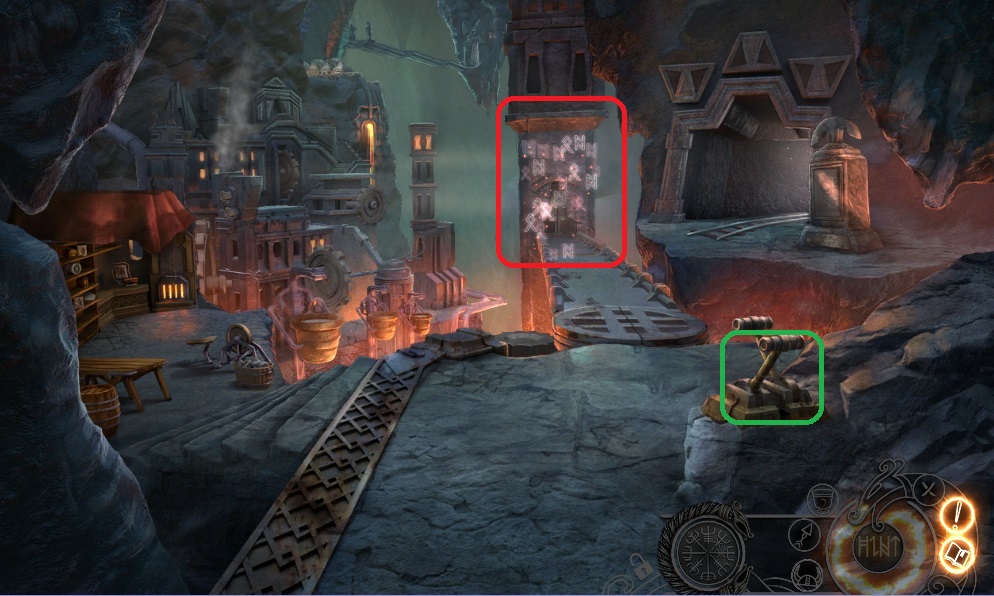
- Click the lever – play the hidden objects area.
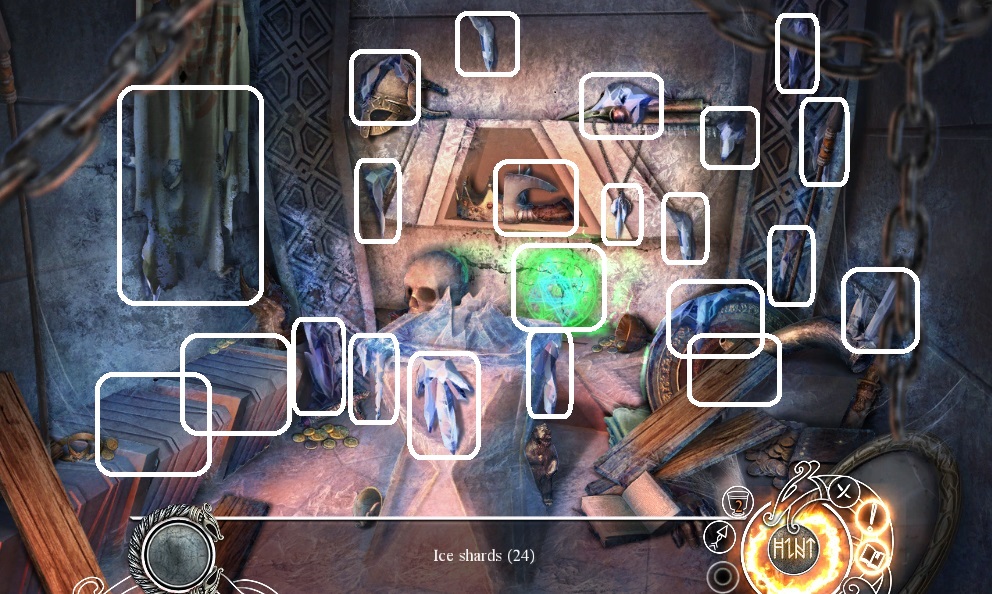
- Collect the ice shards.
- Move down once.
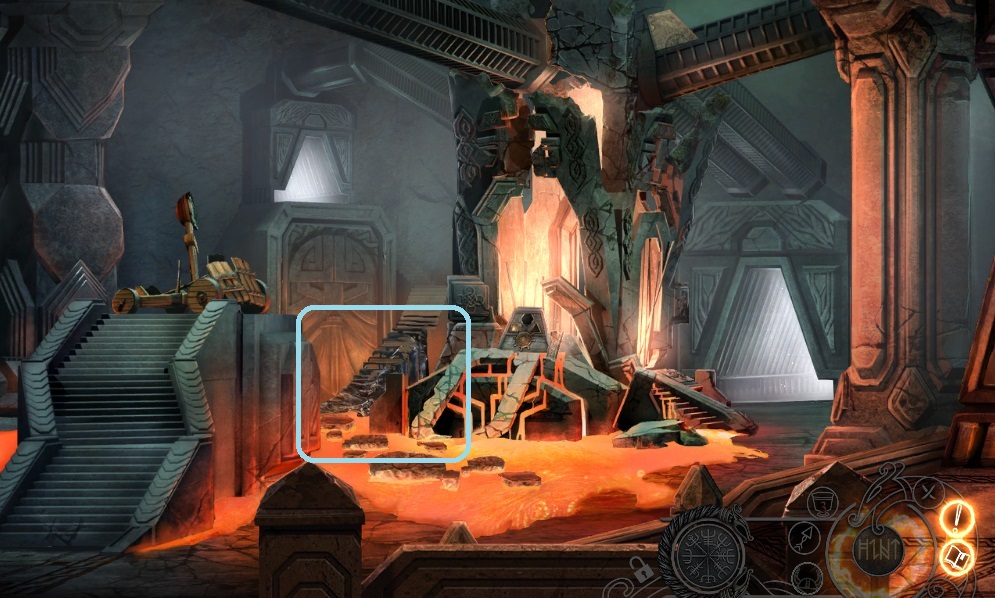
- Use the ice shards on the stairs.
- Move to the Throne Room.
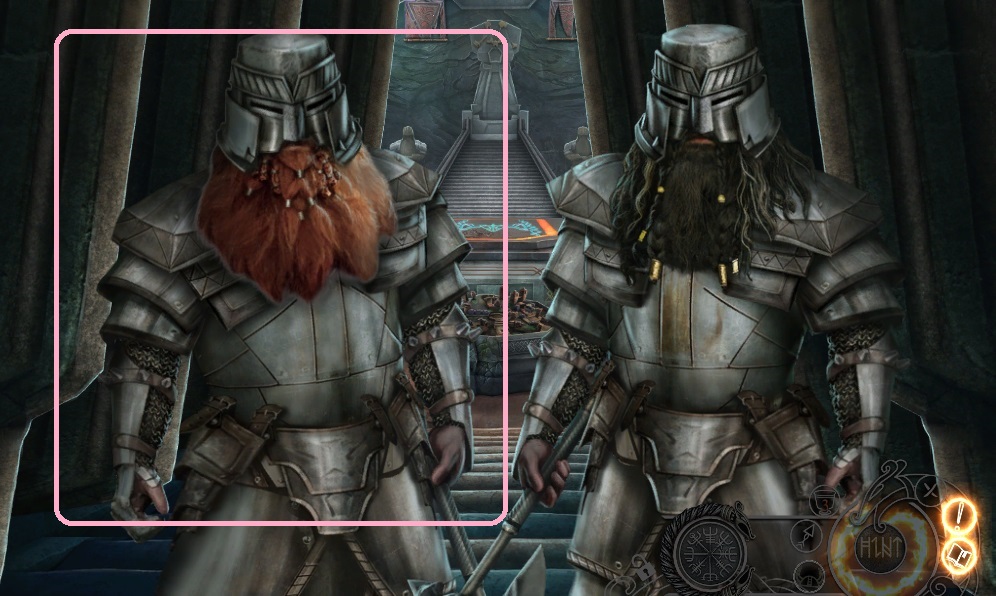
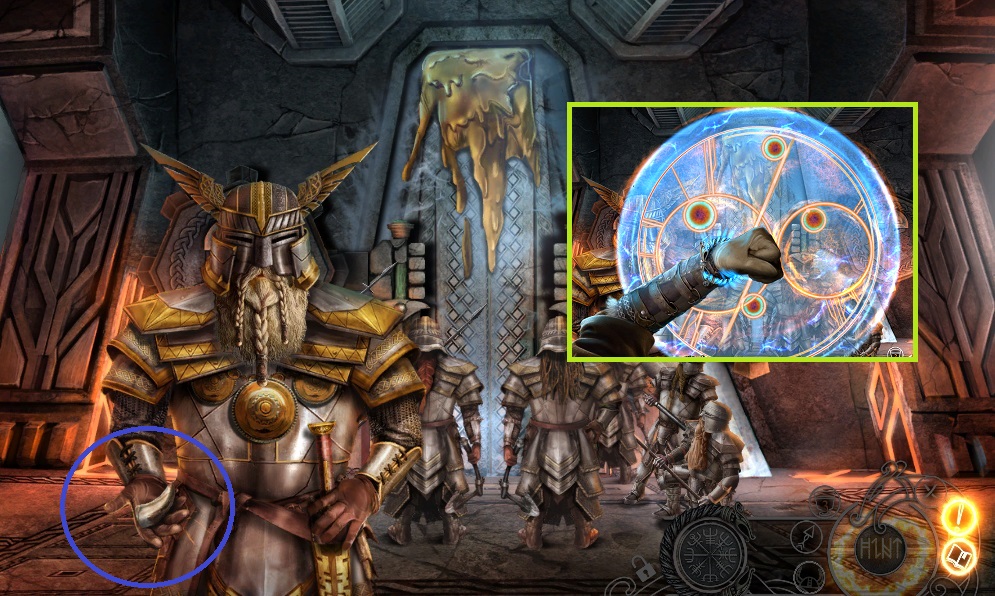
- Give the general’s badge to the guards.
- Move down once & go left to the Key Masters Chamber.
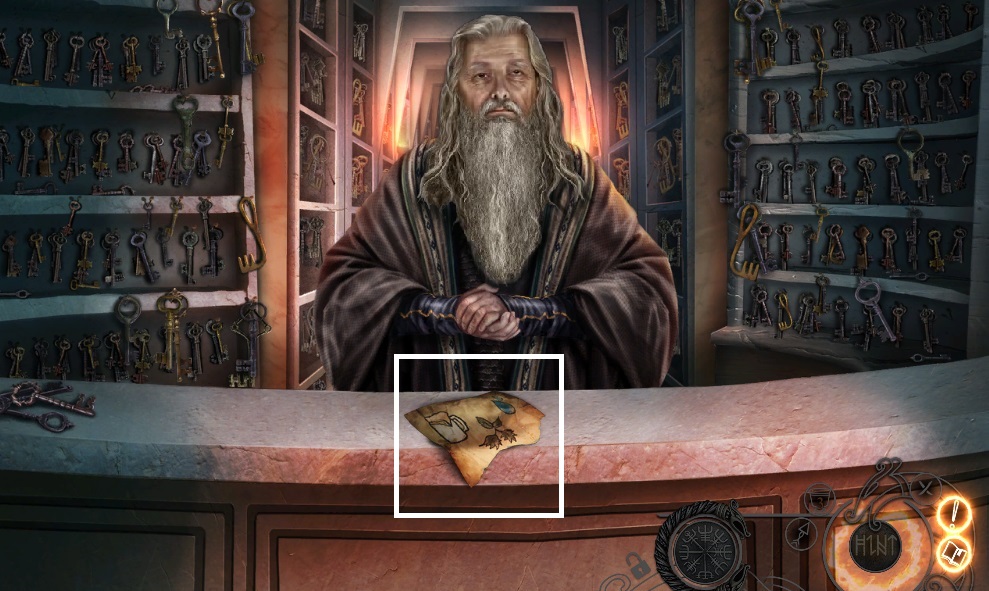
- Collect the code.
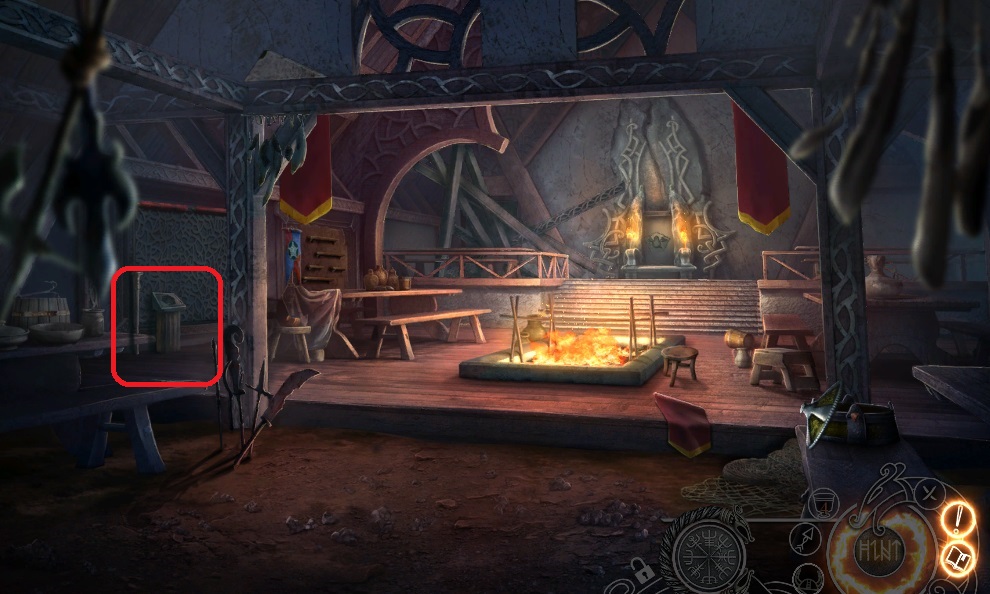
- Move down once & to the right into the Family Furnace.
- Place the code & arrange as shown.
- Place the sealed box & click the handle; collect the broken box.
- Click the broken box; collect the founder’s emblem part & magnet.
- Match the pairs to collect the smoking pipes.
- Move down once.
- Click the cover – use the magnet to trigger a mini game.
- Solve the game by guiding the ball to the exit.
- Collect the codex.
- Move to the Key Master’s Chamber.

- Place the codex & click it to trigger a mini game.
- Solve the game by arranging the symbols in accordance to the story.
- Click the book & pages – click the token.
- Collect the warrior’s key.
- Move to the Family Furnace.
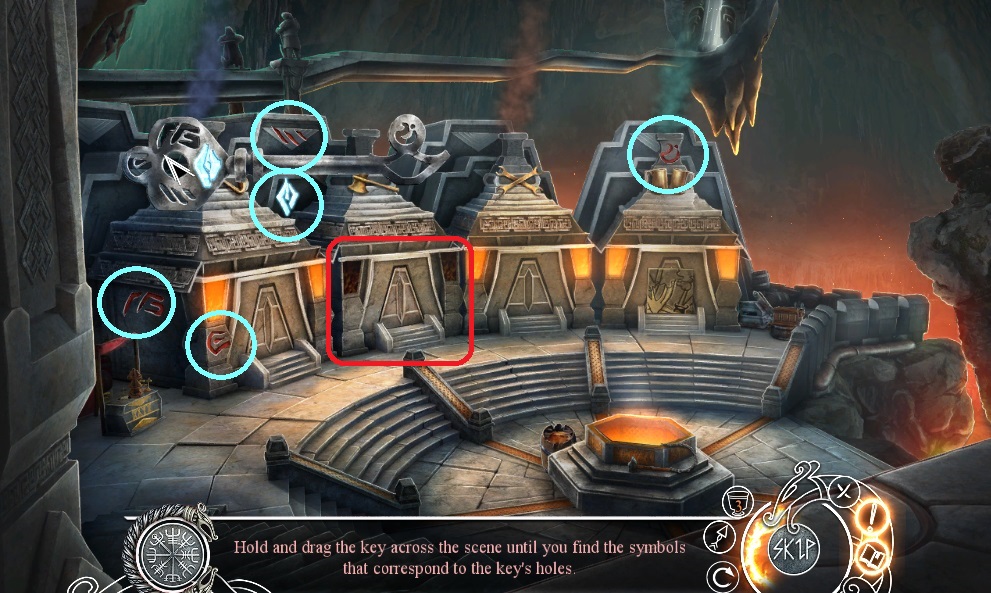
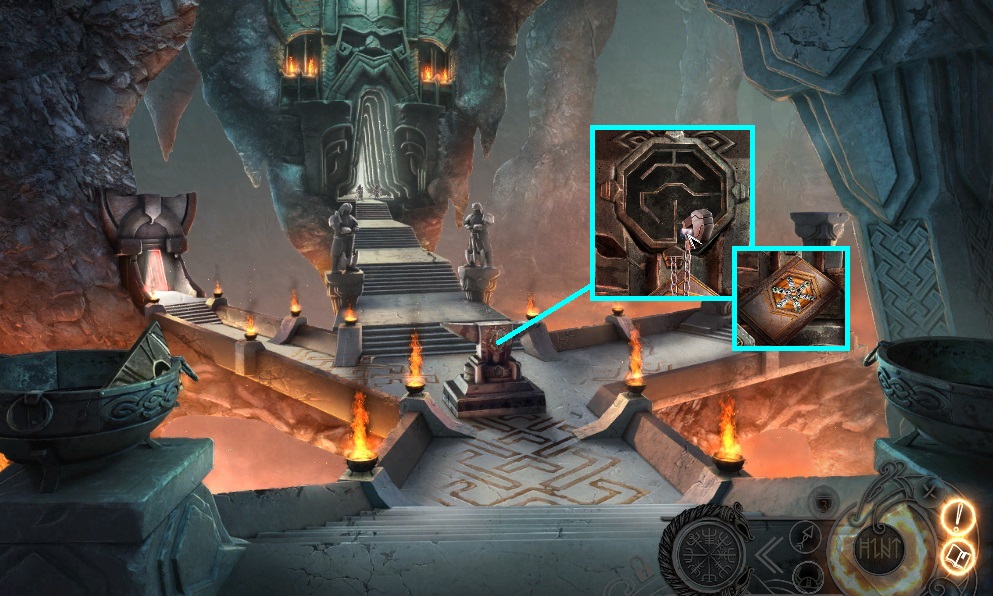
- Place the warrior key on the scene to trigger a mini game.
- Solve the game by dragging the key to locate the symbols.
- Click the hidden objects area.
- Find the items.
- Click the button.
- Click the scene.
- Move to the Throne Room.
- Click the scene.
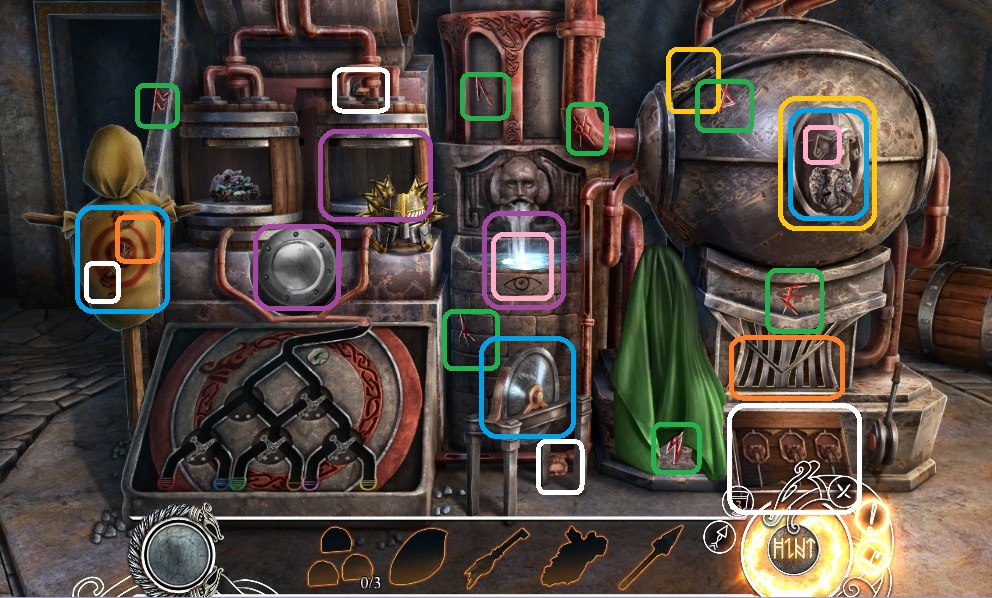
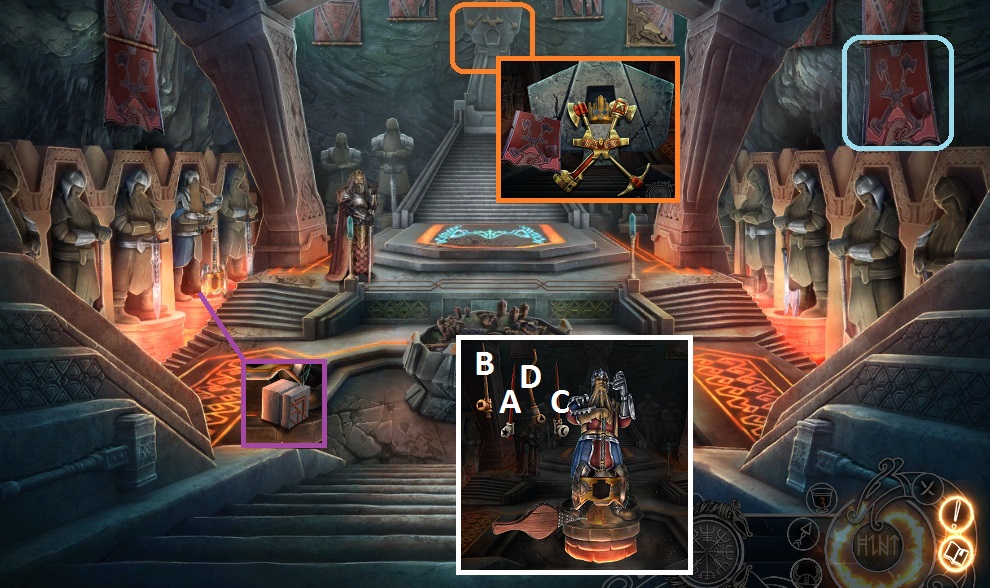
- Collect the cube – obsidian & dwarven banner; place it
- Arrange the pieces – collect the crown emblem.
- Place the smoking pipes & use the bellows.
- Click A – D; collect the axe.
- Move down once.
- Place & click the crown; collect the king figurine.
- Move to the Throne Room.
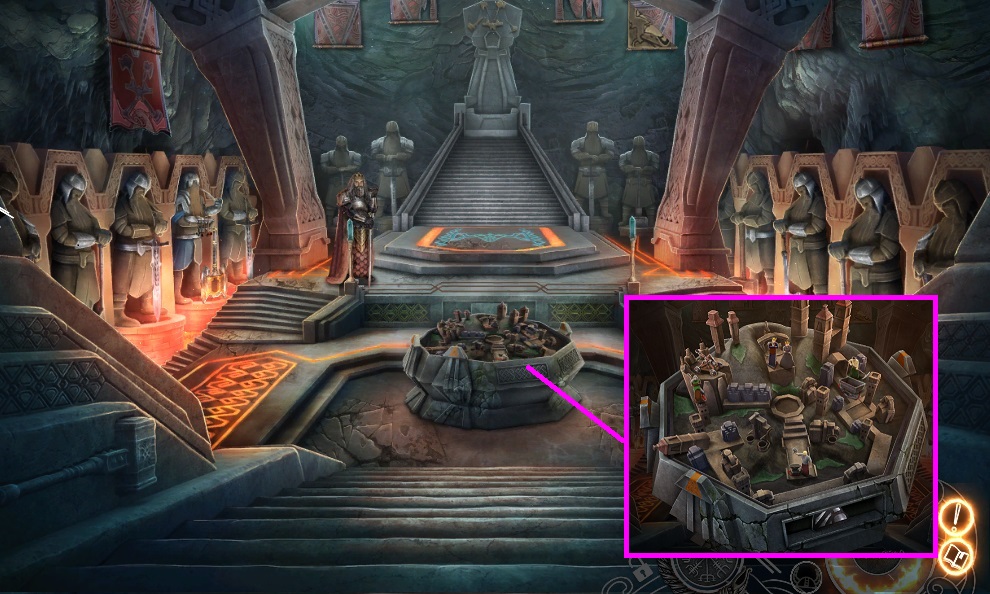
- Place the king figurine to trigger a mini game.
- Solve the game by arranging the figurines correctly.
- Collect the founder’s emblem part.
- Move to the Family Furnaces.
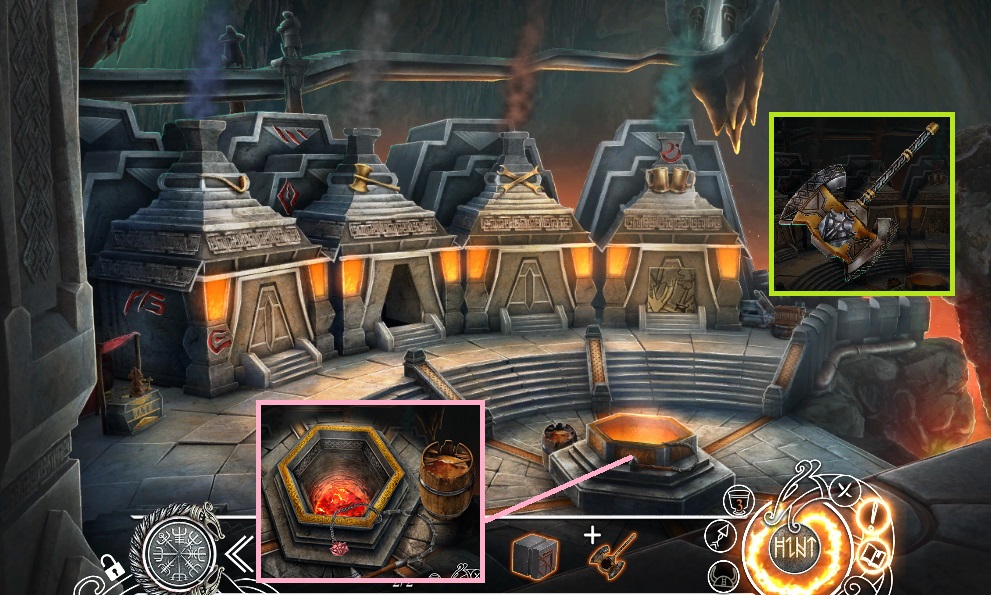
- Place the founder’s emblem.
- Click 3x’s – collect the founder’s emblem & place it onto the axe.
- Move to the Throne Room.
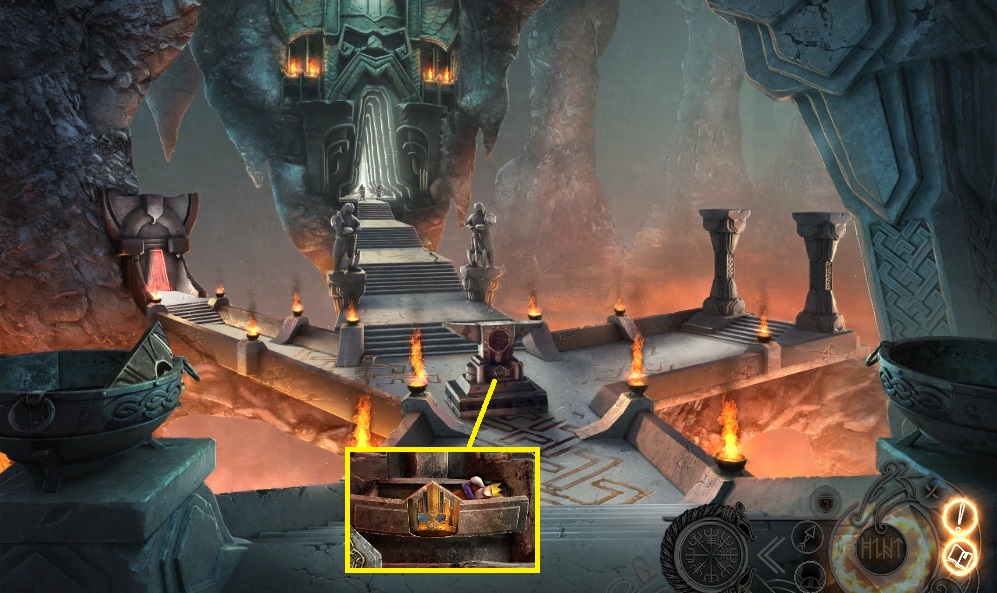
- Use the founders axe.
- Zoom in to trigger a mini game.
- Solve the game by clicking the prisms into alignment (A-D).
- Solve the game by clearing the ice tiles.
- Solve the game by distributing the board correctly.
- Collect the frozen soul key & give it to the man.
- Collect the ice giant’s tooth to trigger a mini game.
- Solve the game by aligning the orange circles to the green dots.
- Move to the left and go into the Seer’s Hut.

- Click the tray – place the obsidian & click it.
- Move to the Grand Hall.
- Attach & click the crank to trigger a hidden objects area.
- Find the items.
- Collect the silver thread.
- Move to the Seer’s Hut.
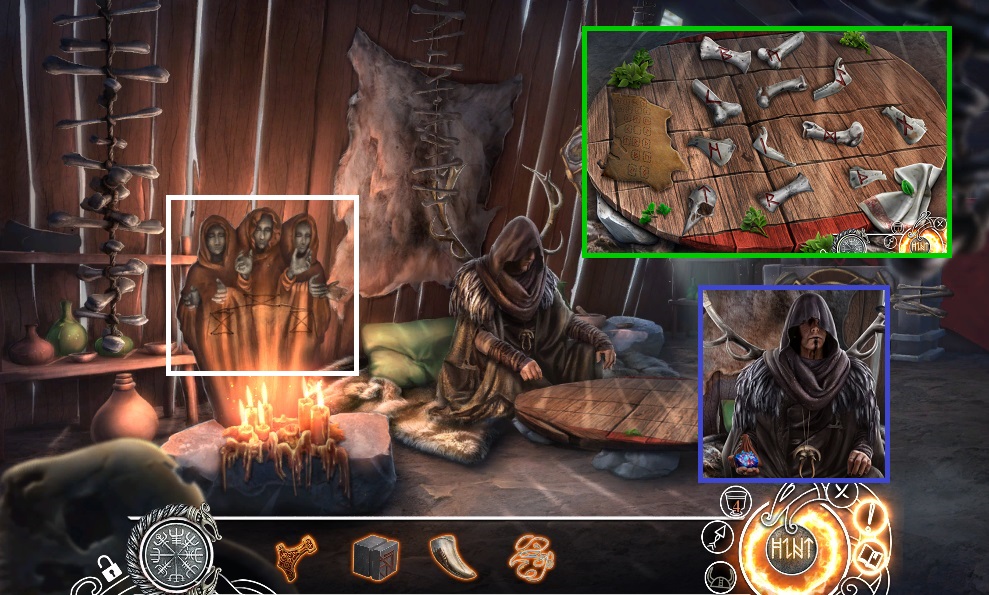
- Place the silver thread & arrange correctly.
- Arrange the runes correctly.
- Collect the burning crystal & herbal mixture.
- Move down once & to the right.
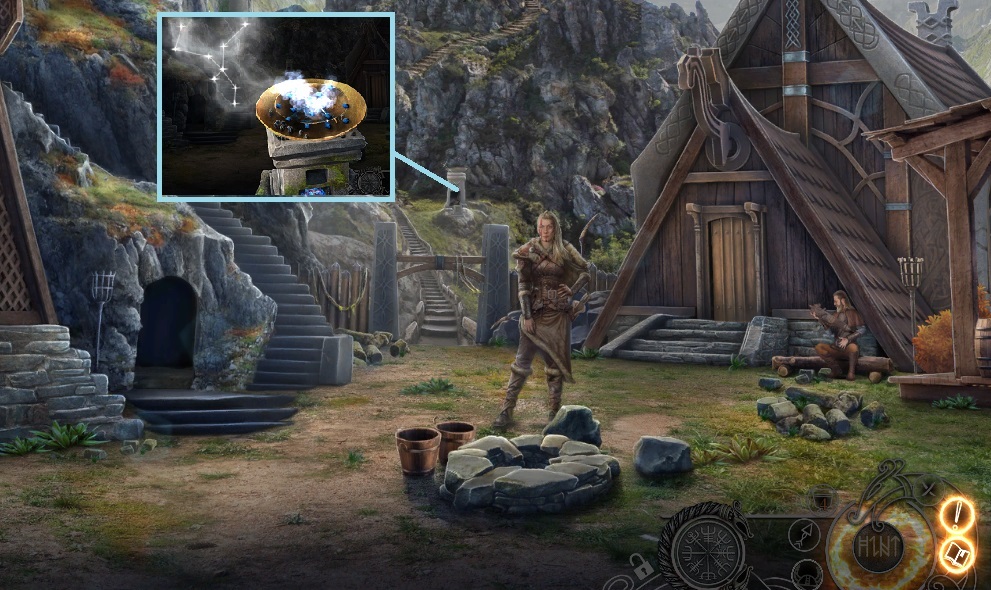
- Place the burning crystal to trigger a mini game.
- Solve the game by recreating the constellation pattern.
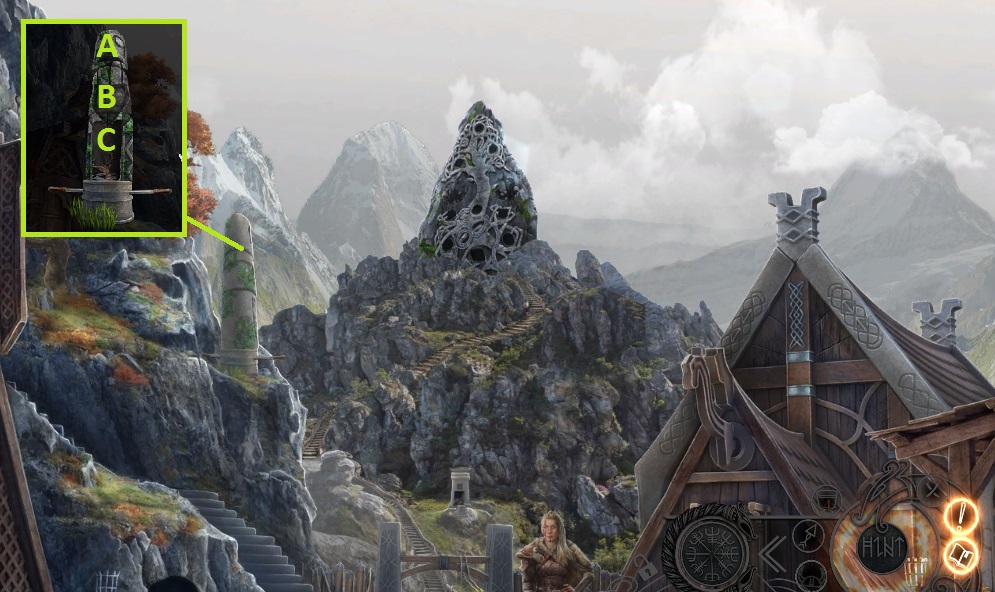
- Collect the stage.
- Collect the bow & arrow.
- Move up.
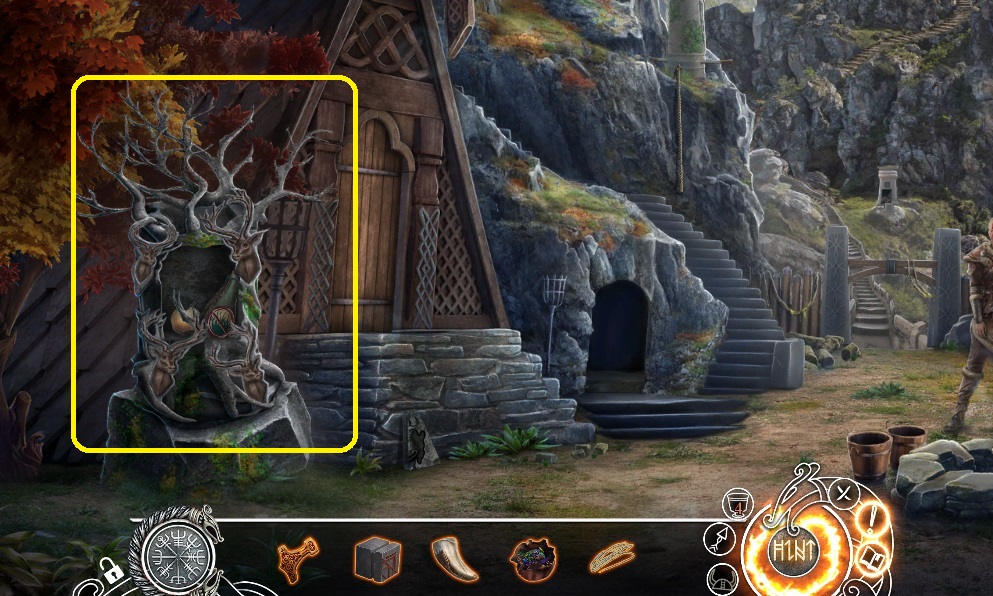
- Use the bow and arrow – Click ABC; collect the stag & elastic string.
- Move down once.
- Place the stag – collect the plant poison & geometric token.
- Move to the Seer’s Hut.
- Insert the geometric token - click A-E to collect the depleted rune.
- Place the Mjolnir pendant.
- Place the depleted rune & ice giant’s tooth.
- Click the handle- collect the Jotunheim rune.
- Move down once – go up & to the right.

- Place the Jotunheim rune.
- Click the scene.
General Tips & Information
Chapter 1 Enter the Forest
Chapter 2 The Sandfell
Chapter 3 Lower
Chapter 4 Jotuneim
Chapter 5 The Altar
Chapter 6 The Harbor
Ask for help in the comments below!
Chapter 1 Enter the Forest
Chapter 2 The Sandfell
Chapter 3 Lower
Chapter 4 Jotuneim
Chapter 5 The Altar
Chapter 6 The Harbor
Ask for help in the comments below!